Serving sailors online since 1997
Salon Planking on Sides
posted 01-12-2016 by Castrilper55
Click for larger view
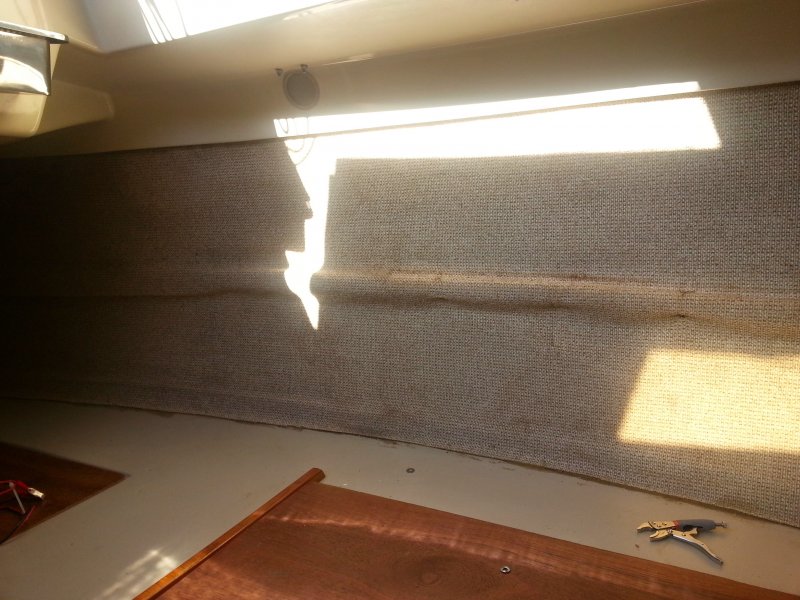
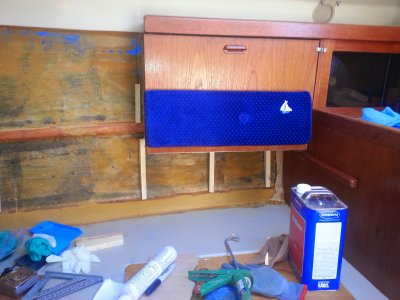
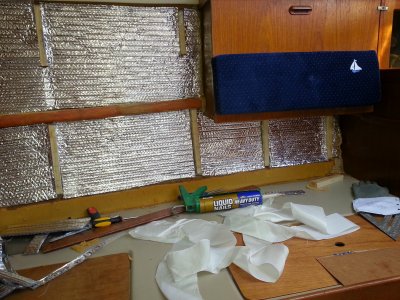
This is what the fabric hull covering looked like after 30 years. A little smelly, a little dirty - but really not bad for 30 years. The upholstered shelves have been removed. Ready for the rip-out!

Click for larger view
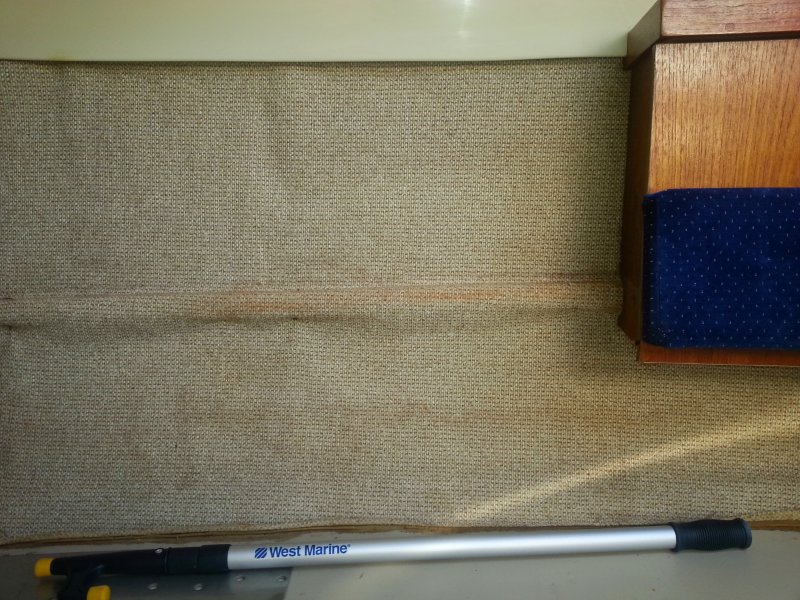
Another shot - this one of the starboard side just forward of the stove locker.
Click for larger view
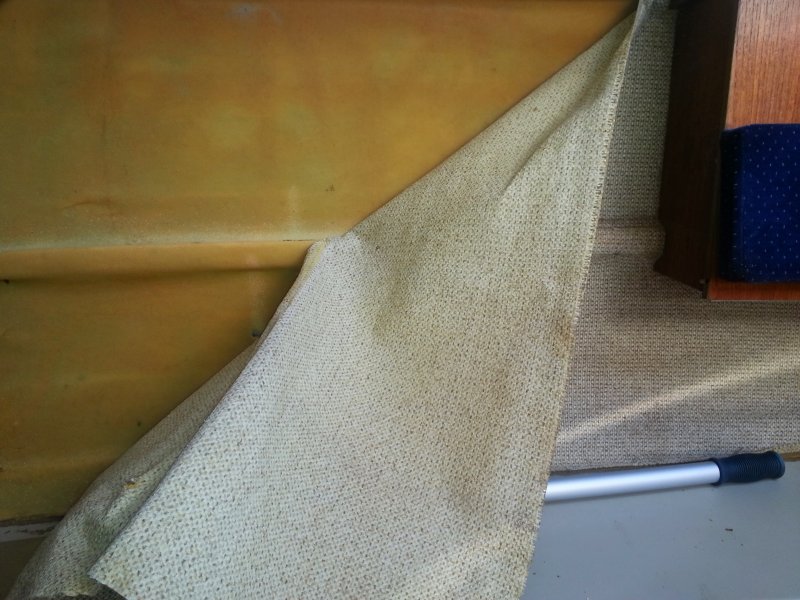
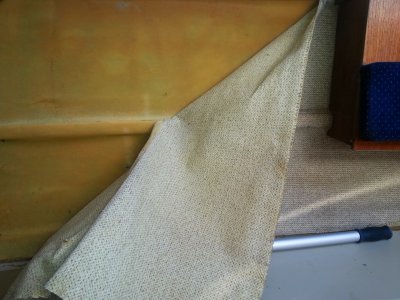
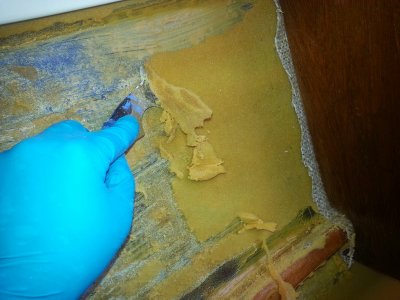
Pulling the old covering off, I found that it came off fairly easily. The tan colored material left behind is the original foam backing. It didnt come off quite so easy. I considered leaving it on but opted to remove it instead ... and in spite of the additional work it represented.

Click for larger view
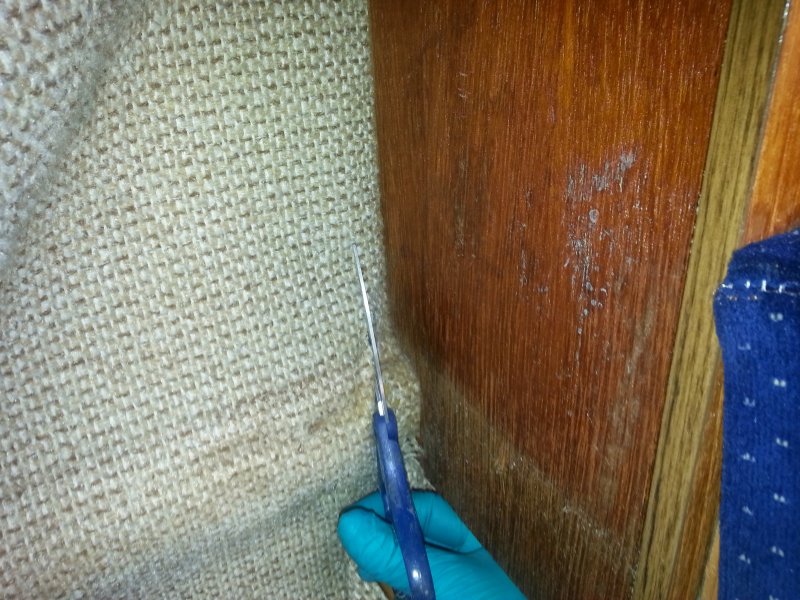
I cut the fabric as close as I could to the athwartship bulkheads as the original fabric covering was put on before the interior was put in and thus, runs behind cabinets, bulkheads, shelves, and the like. Cutting it off was the most practical solution since I wasnt gutting the interior.
Click for larger view

I then removed the foam rubber backing. This stuff was probably originally white and had yellowed over the years. It was a little gooey but scraped off quite nicely. It had to be scraped -would not hold together to come off whole like the fabric did.I read that a good wire brush works well also, but I have no experience with that. A 5 in one painters tool (scraper for the uninitiated) works well.
Click for larger view

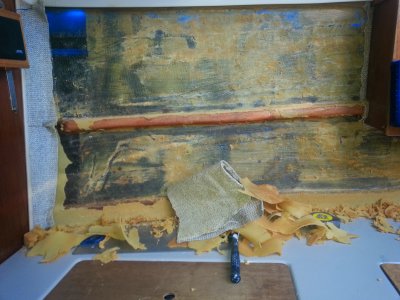
Almost done. Notice, I left the fabric on the forward bulkhead. I cleaned up the pile of goo and wiped the hull down with acetone several times. You should be careful not to soak the fiberglass hull or leave the acetone sit on it as it is a solvent that will dissolve the resin that makes up the fiberglass hull.

Click for larger view
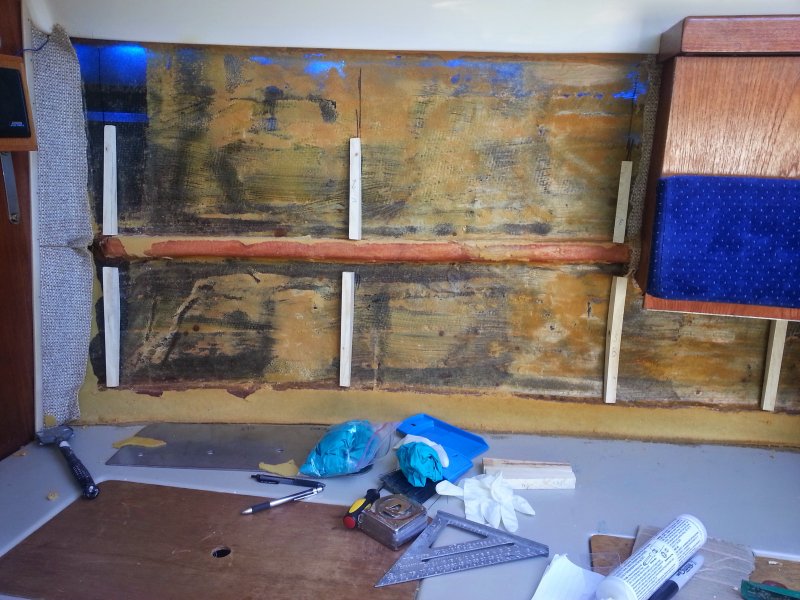
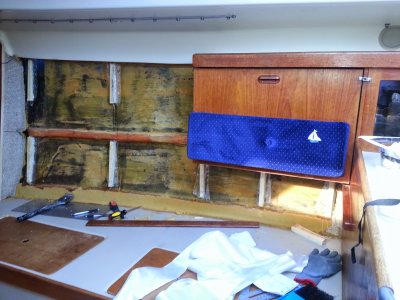
I then cut furring strips angled so that they faired the structural ribbing to what will be the back plane of the new wall covering. There will be an air space between the hull and the planking.
Notice the furring strips above the center rib are short. When installed, they will be moved all the way to the top so that the upholstered shelves will have the maximum space in them. This made for a complicated installation, but well worth it when on the water!
Notice the furring strips above the center rib are short. When installed, they will be moved all the way to the top so that the upholstered shelves will have the maximum space in them. This made for a complicated installation, but well worth it when on the water!
Click for larger view

Another shot of the strips under the stove locker.

Click for larger view
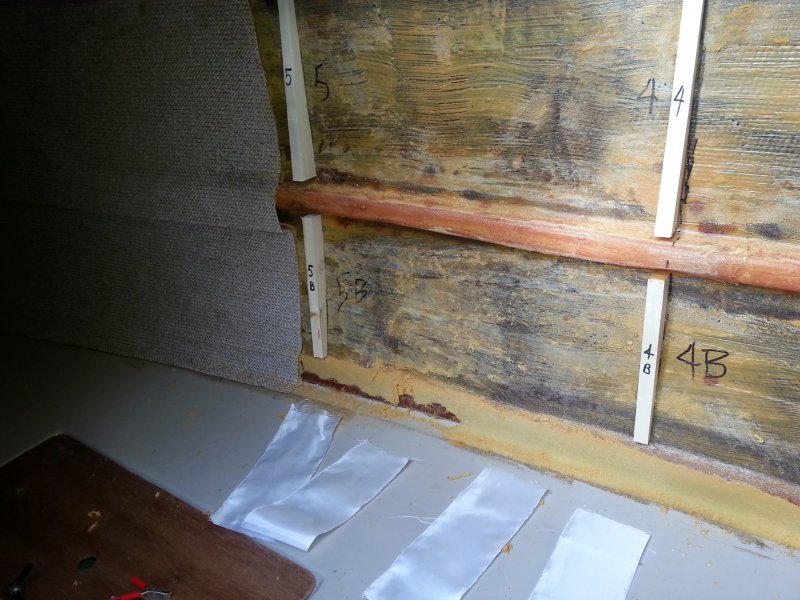
Port side aft... I bonded the furring strips in with thickened epoxy. Notice I left the fabric in the quarter berth as it is seldom seen and - frankly I couldnt fathom the contorted positions I would be in to get back there and do the work. You can see the labels on the hull matched up with a corresponding strip. This way I could take them off to trim and sand and get them back where they were intended to go.
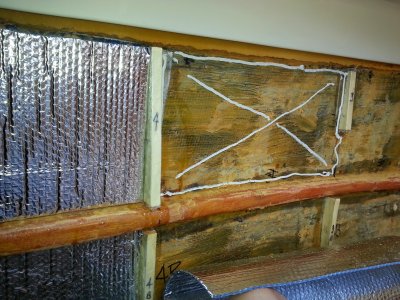
I also cut fiberglass fabric to glass in the soft wood furring strips.
I also cut fiberglass fabric to glass in the soft wood furring strips.

Click for larger view

Furring strips bonded in with thickened epoxy.
Click for larger view

Starboard side all glassed in and ready for insulation.
Click for larger view

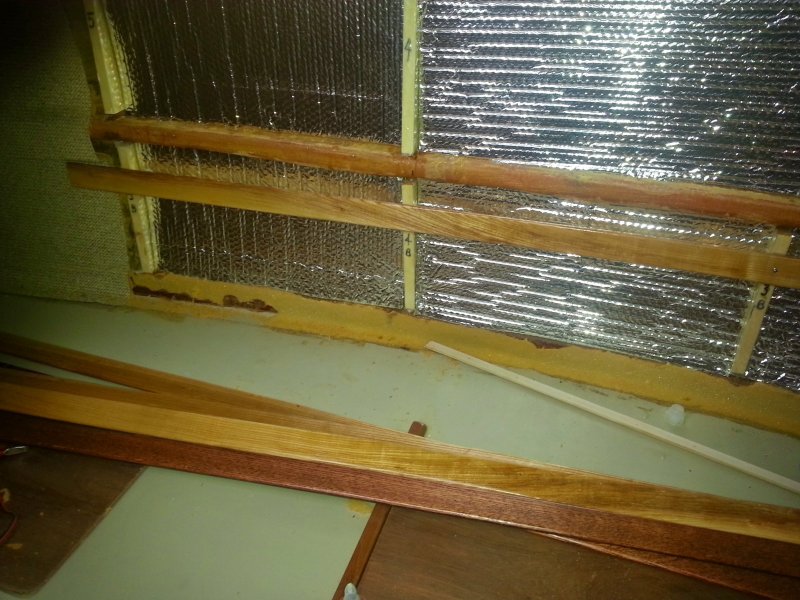
For insulation, I used 3/8 foil backed bubble wrap and bonded it in with liquid nail construction adhesive. I just wanted the material held close to the hull to eliminate voids for spiders to nest. Sheesh!
Click for larger view
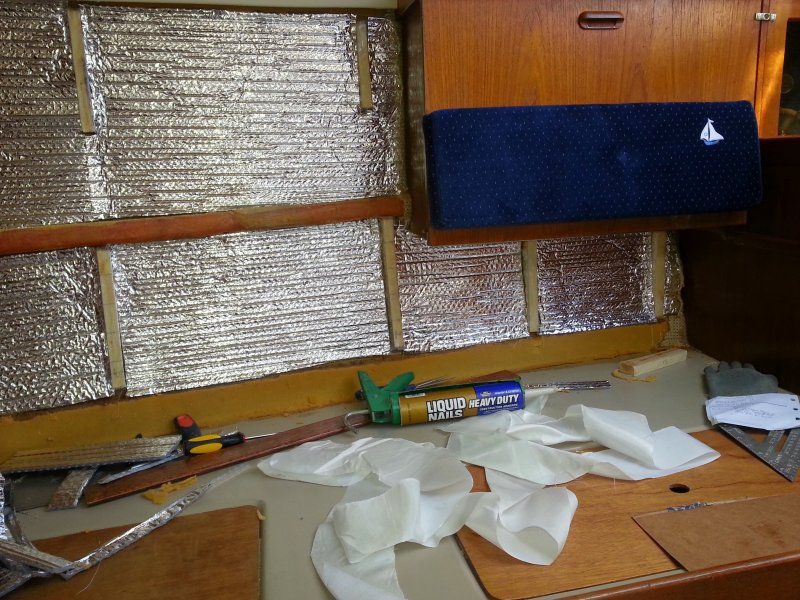
Insulation in, furring strips in, ready for planking ... oh yeah - I need to make some planking!

Click for larger view

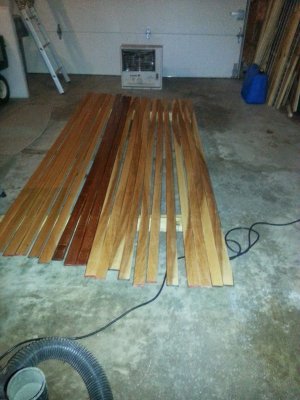
I cut these planks from rough sawn 2 x 10 boards. This is ash. I also cut up some red oak to provide a contrasting highlight. These are 2 x 3/8 x 10.

Click for larger view
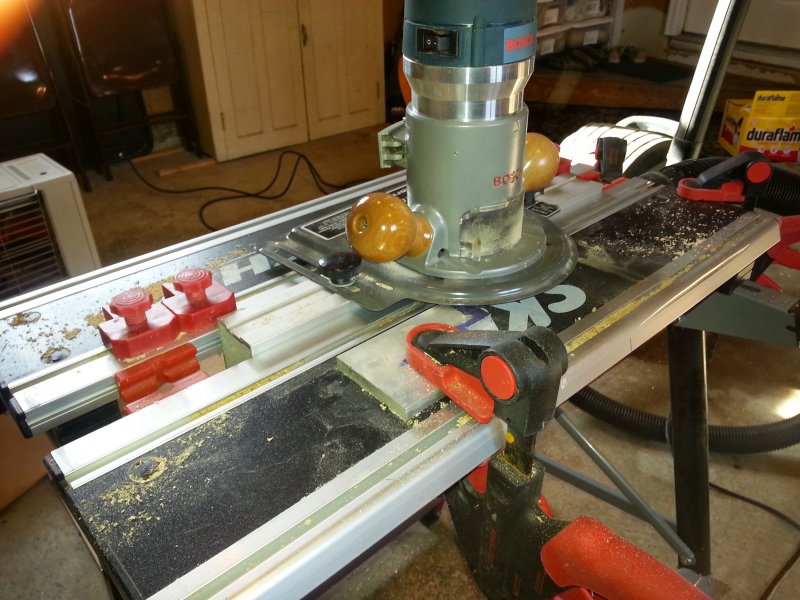
I routed the edges of all planks to round them off. I also sanded each one with 220 grit sand paper. Tedium agnausea!
Click for larger view
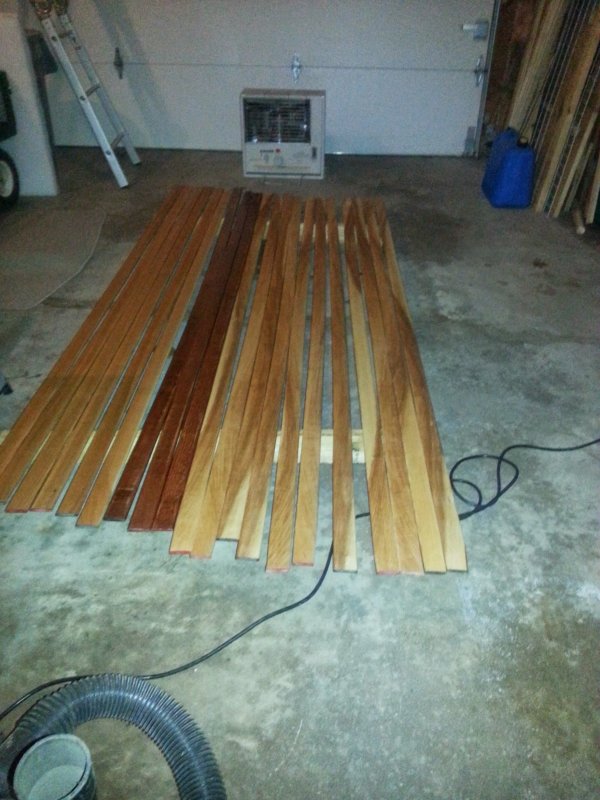
8 coats of tongue oil - lightly sanding between coats. I chose tongue oil so that I can easily restore scratches in place on the boat. Tongue oil is ultra easy to get a good finish and scratches are easily repaired without a trace. ...and it cures hard as nails. Durable stuff.

Click for larger view
Need to get your first plank on in good reference to the boat. I lined mine up the the setee.

Click for larger view
Continuing on, I screwed each plank to the furring strips. You must be very careful not to put a screw through the hull. If in doubt, bond the planking to the strip with some epoxy.

Click for larger view
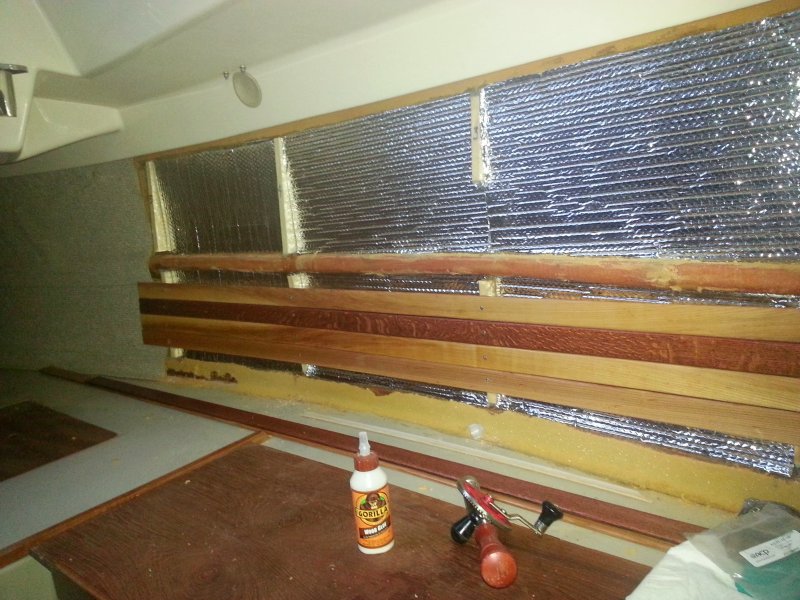
Highlight planks added.

Click for larger view
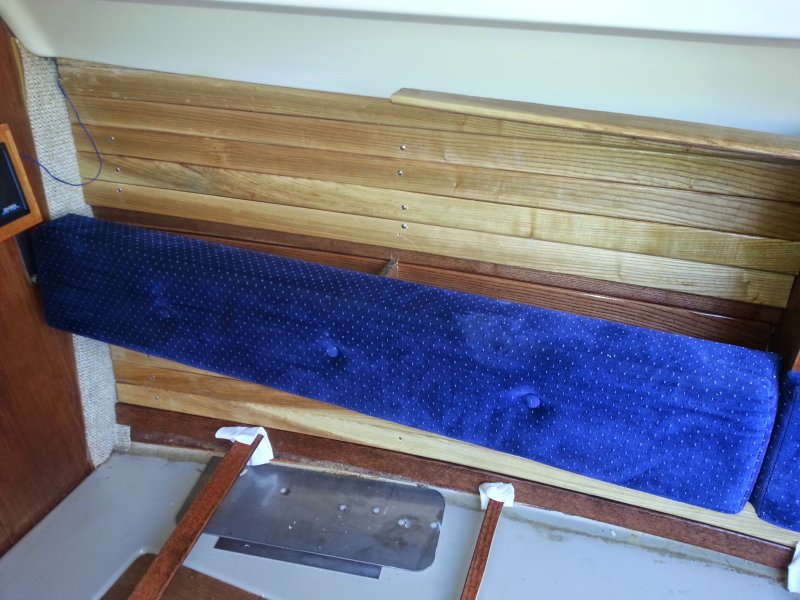
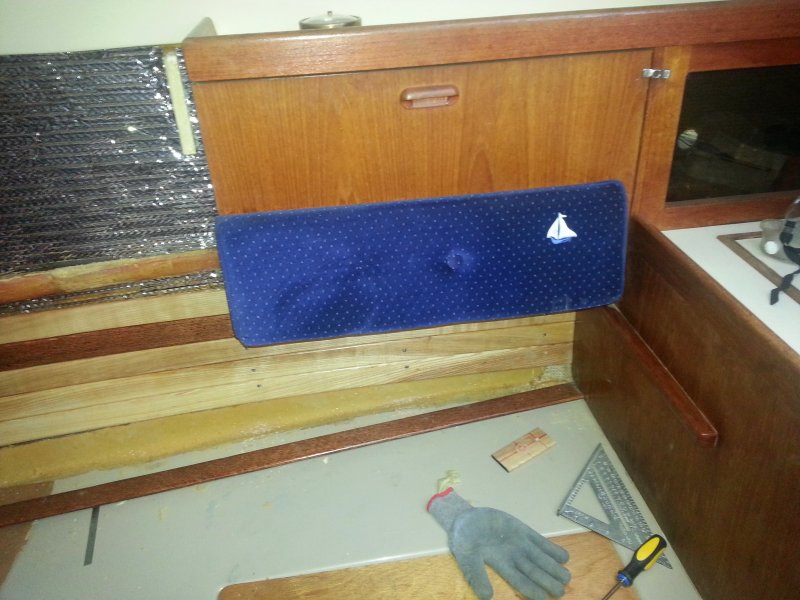
The bottom strip being bonded on with epoxy. Upholstered shelving installed.

Click for larger view
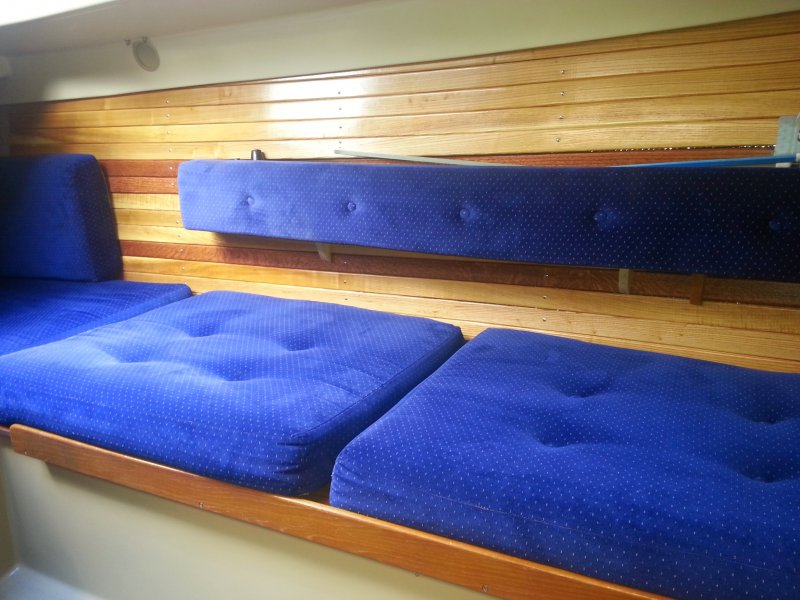
Port side done. Dazzling.

Click for larger view
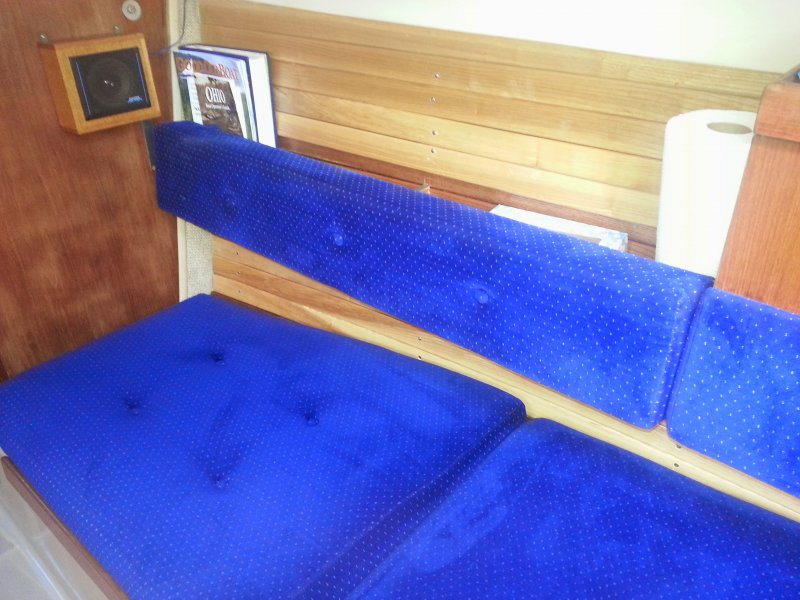
Starboard side done.

Click for larger view
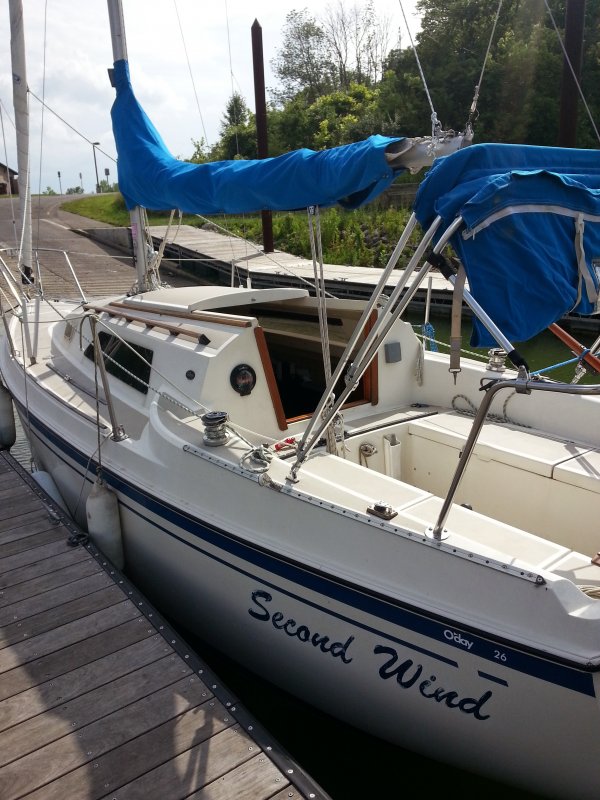
A nice Lake Erie sailboat!