Serving sailors online since 1997
Repairing Rotted Bulkhead and New Chainplates
posted 01-02-2018 by Castrilper55
Click for larger view
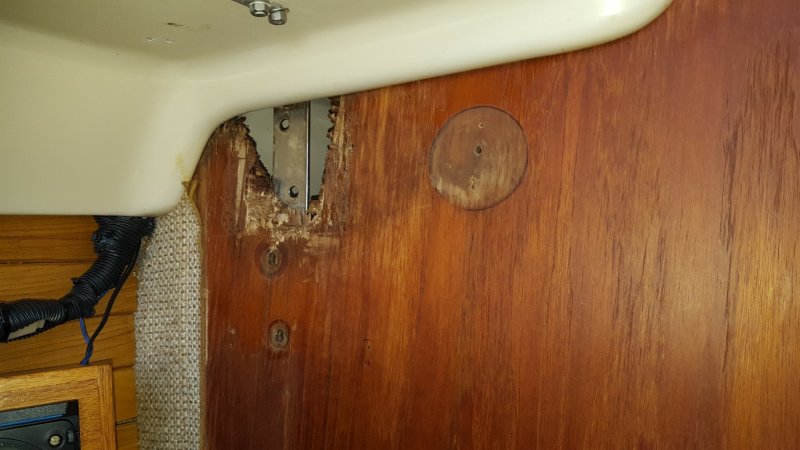
The port bulkhead was rotted out and had been repaired by the PO. At the end of last sailing season, the bulkhead was once again wet, so I decided to do a more permanent fix. Not wanting to completely replace the bulkhead since it was mostly sound, I got a little creative on my repair.

Click for larger view
I probed the bulkhead with an awl until I found good solid wood. I marked the same and went an inch or so beyond, then sawed out a square area.
Click for larger view

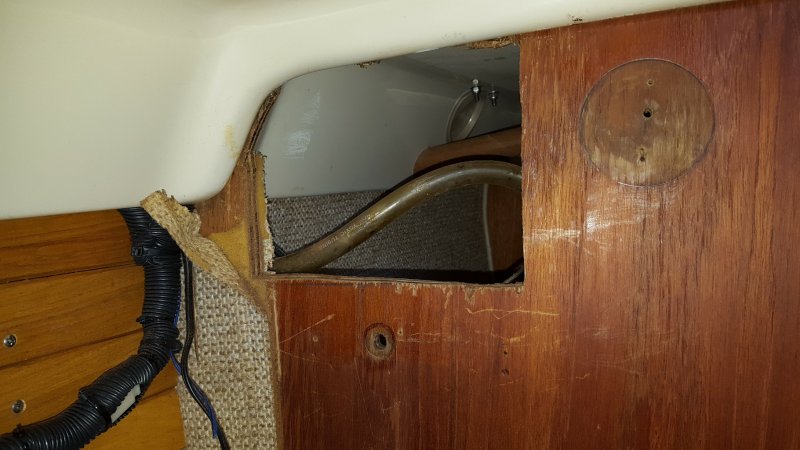
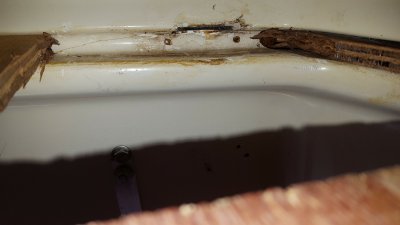
This is a photo from behind the head looking up to the chain plate hole. I cleared out all remnants of old wood to make ready for a new piece.
Click for larger view

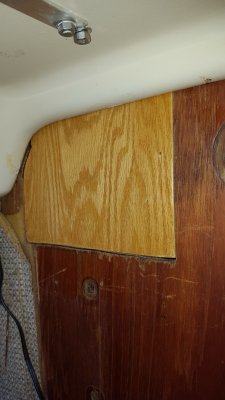
I made a new piece fitted to the hole. Notice the wood extends into the recess where the chain plate comes through. This is looking forward from the saloon. I treated the wood with penetrating epoxy - 3 coats. Then applied 5 coats of varnish. I slathered the top with 3M 5200 adhesive to accommodate the wood to fiberglass bond, and to seal the end of the wood in the event the chain plate leaks again. I used thickened epoxy wherever wood was connecting to wood. I had to force this piece into place using pry bars and a dead blow. Once in place, I filled in the gaps with more thickened epoxy.

Click for larger view
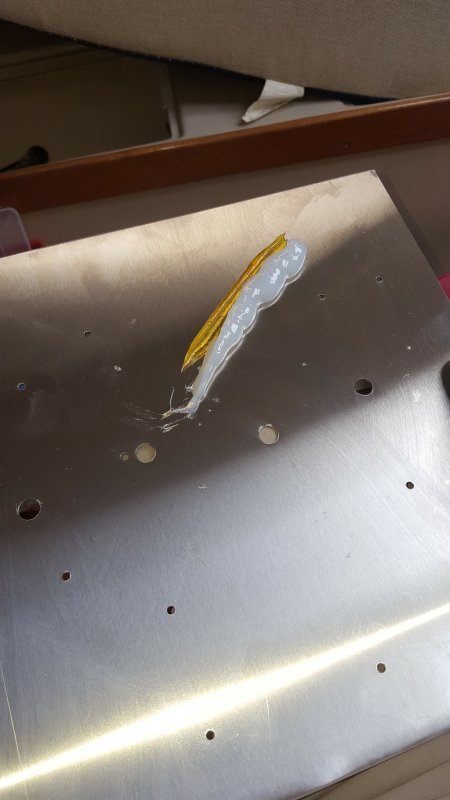
I then used 1/16 inch thick 316 stainless steel sheet metal to make a cover/ laminant to dress it up and strengthen the bond. Remember, this part of the bulkhead is in tension so, I wanted to create a solid anchor for the chain plates. I surmise that if there is even the slightest movement, it could create a leak where the chain plate penetrates the deck. The wood piece is solidly forced into place. The stainless steel plate is to bond everything together. I made these contour cuts using a manual mill. With metal this thick, you cannot really use shears.

Click for larger view
I drilled some holes in the plate so that I could screw the plate onto the bulkhead. Before installing and after cleaning the plate with acetone, I applied thickened epoxy liberally to the back of the plate. I used Six-10 from West Marine. (About 20 bucks a tube). I also cleaned the bulkhead with acetone as well. All parts clean, copious amounts of epoxy applied and I was ready to make a permanent bond.
Click for larger view
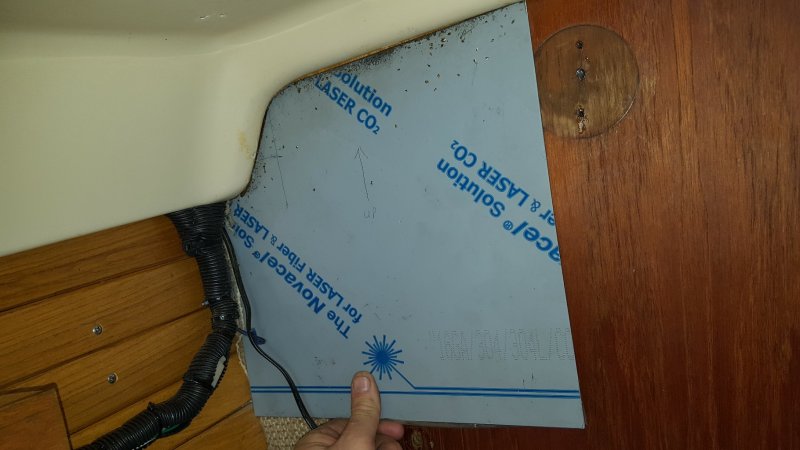
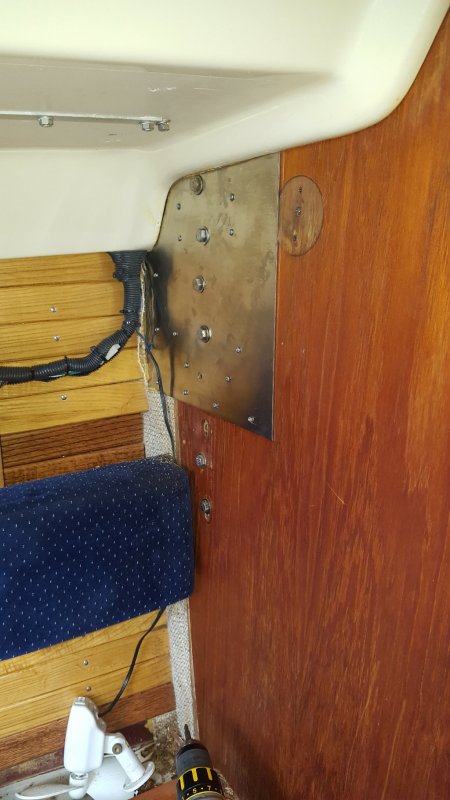
Using stainless steel pan head screws, I attached the stainless steel plate to the bulkhead, completely covering the repair and screwing and bonding the repaired wood with the existing bulkhead. You must be careful not to put screws where the chain plate holes will be.
Click for larger view
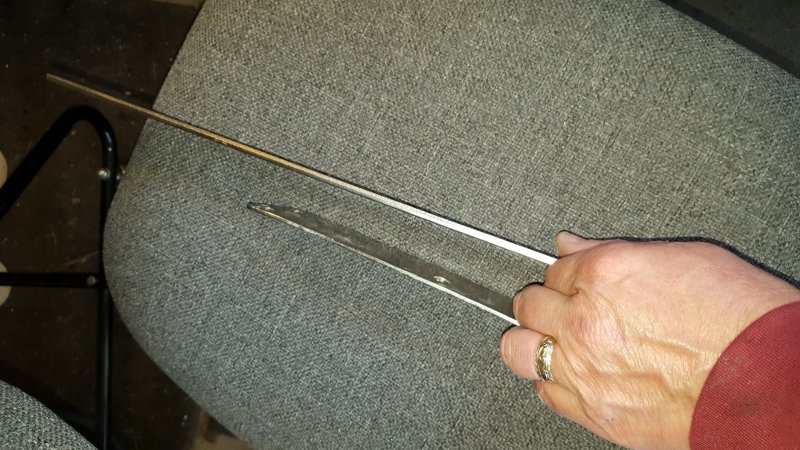
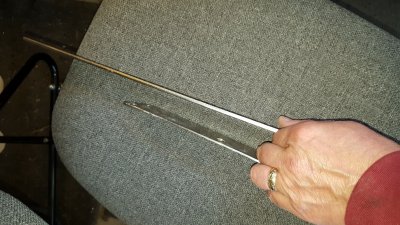
I fabricated new chain plates out of 1/8 thick 316 stainless steel. This is a picture showing the relative size difference and thickness difference as well. The new plates are the same width, about 33% thicker, and more than twice as long. The new plates are 24 inches long with 4 additional bolt holes below.

Click for larger view
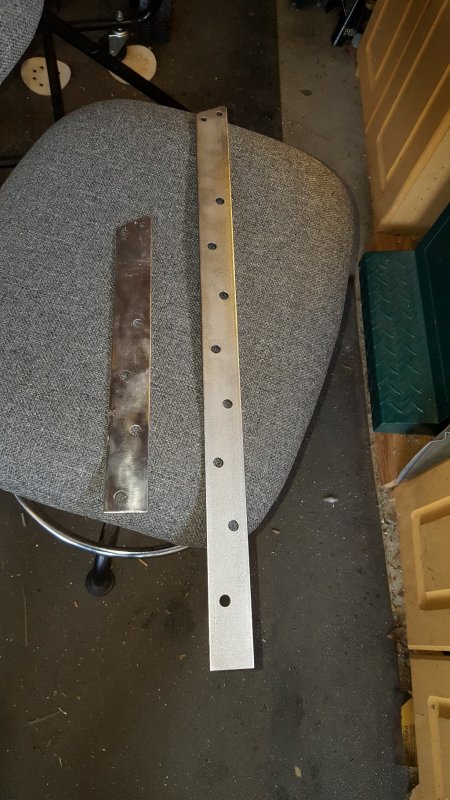
Shown here is the old chain plate (Left) next to the new chain plate. A substantial improvement indeed. Holes maintained the same pattern. Anchor bolt holes are 25/64 inches while the shroud pin holes are .26 inches (F Drill) and are .38 inches on center from the top edge.

Click for larger view
In order to fit these larger chain plates into the old deck penetration, I had to modify the hole slightly. I used a series of flat files, starting with one that would fit into the existing hole. As the hole got wider, I would use a larger file until I had a standard flat bastard file to finish it off. The new chain plates were tight and had to be driven in with a dead blow. Before driving them in, I put a chamfer around the top extending about 1/4 into the deck. I also sealed the inside of the chain plate penetration with thickend epoxy.
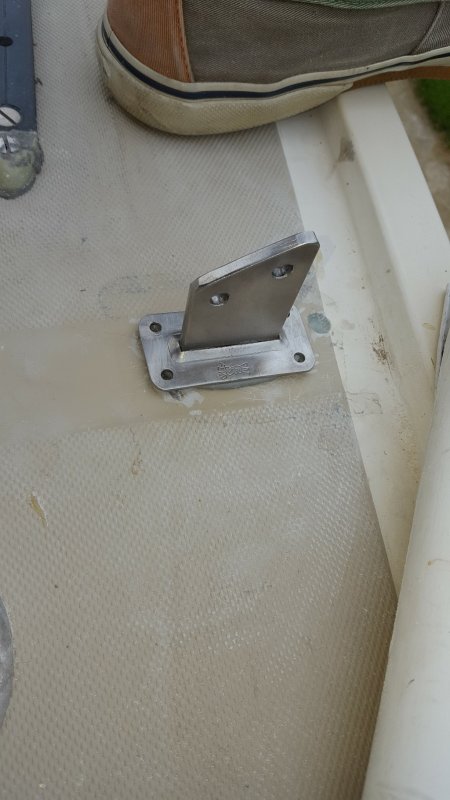
This picture shows the chain plate just above its final resting place with butyl tape wrapped liberally around it. Driving this in to its home position pushed the butyl tape into the recess I created with the chamfer.
This picture shows the chain plate just above its final resting place with butyl tape wrapped liberally around it. Driving this in to its home position pushed the butyl tape into the recess I created with the chamfer.
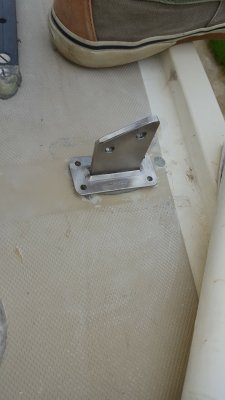
Click for larger view
This picture shows the deck plate in place. You should wait to put the screws in until the chain plate has been bolted completely into the bulkhead. Screwing this in will push the butyl tape in under pressure and will spread it into the void in the top of the deck plate. Butyl rubber should ooz out a little.
Click for larger view

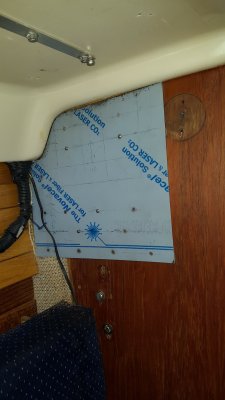
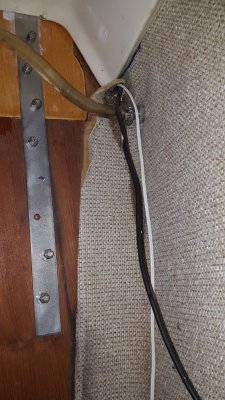
Down inside, I drilled holes using the holes in the new chain plate as a guide. 8 holes will do, I think. This essentially sandwiched the repair between two stainless steel plates, one the fabricated bonded and screwed plate in the saloon, the other the chain plate itself.

Click for larger view
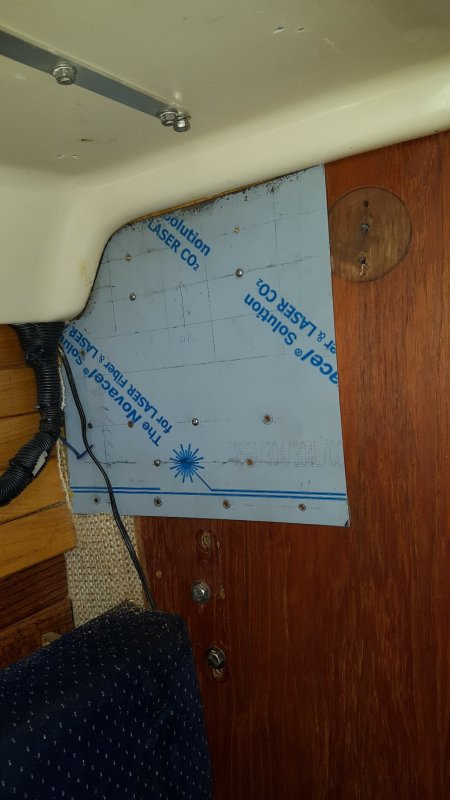
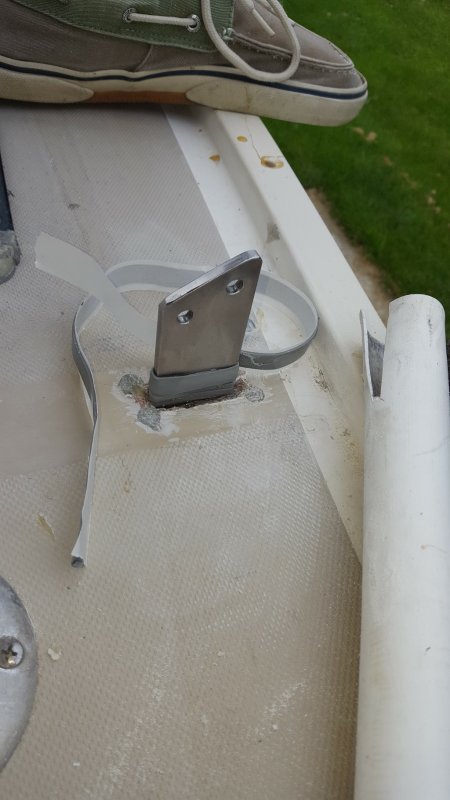
This shows the completed finished installation. After finishing this side, I replaced the starboard chain plate as well, without the need for the stainless steel plate since there was no rot on the starboard side. Still, tedious getting the chain plate holes modified. I think this is a pretty good solution to the rot problem without the trouble of replacing the entire bulkhead. The stainless steel should create a stronger installation than original.
I am upgrading my standing rigging this year to 3/16 inch to better match the larger chain plates!
This completes the installation.
I am upgrading my standing rigging this year to 3/16 inch to better match the larger chain plates!
This completes the installation.